To Our Valued Customer
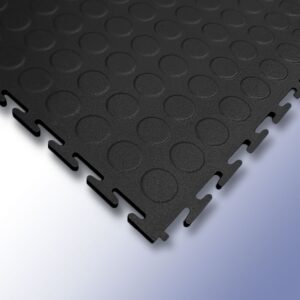
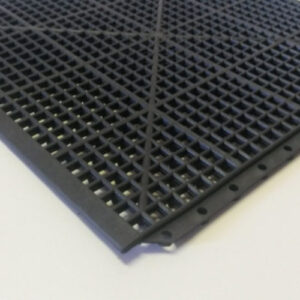
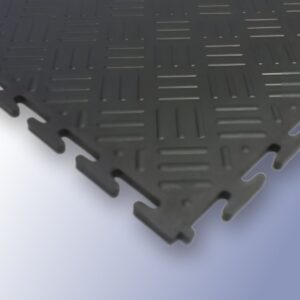
Thank you for buying our eco-friendly high-quality PVC interlocking floor tile.
Below is a detailed guideline on how to do a perfect installation for your DIY guide. We recommend you buy an extra 5 to 7% to cater for waste on cuttings, you can increase this percentage if there are a lot of corners.
Before you start your installation have the following tools ready:



- Stanley/Razor Knife
- Mullet/Hammer
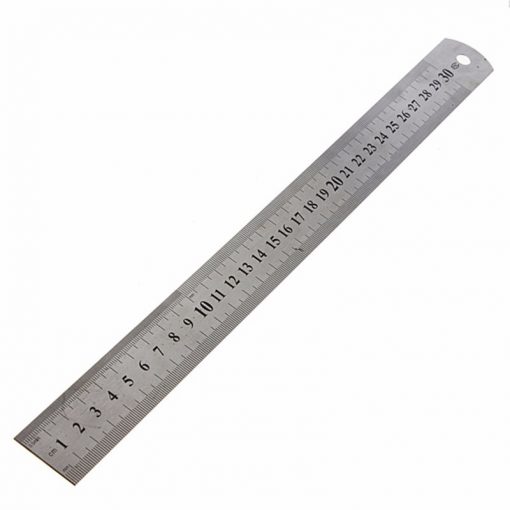
- Steel Ruler
- Metal Scrapper
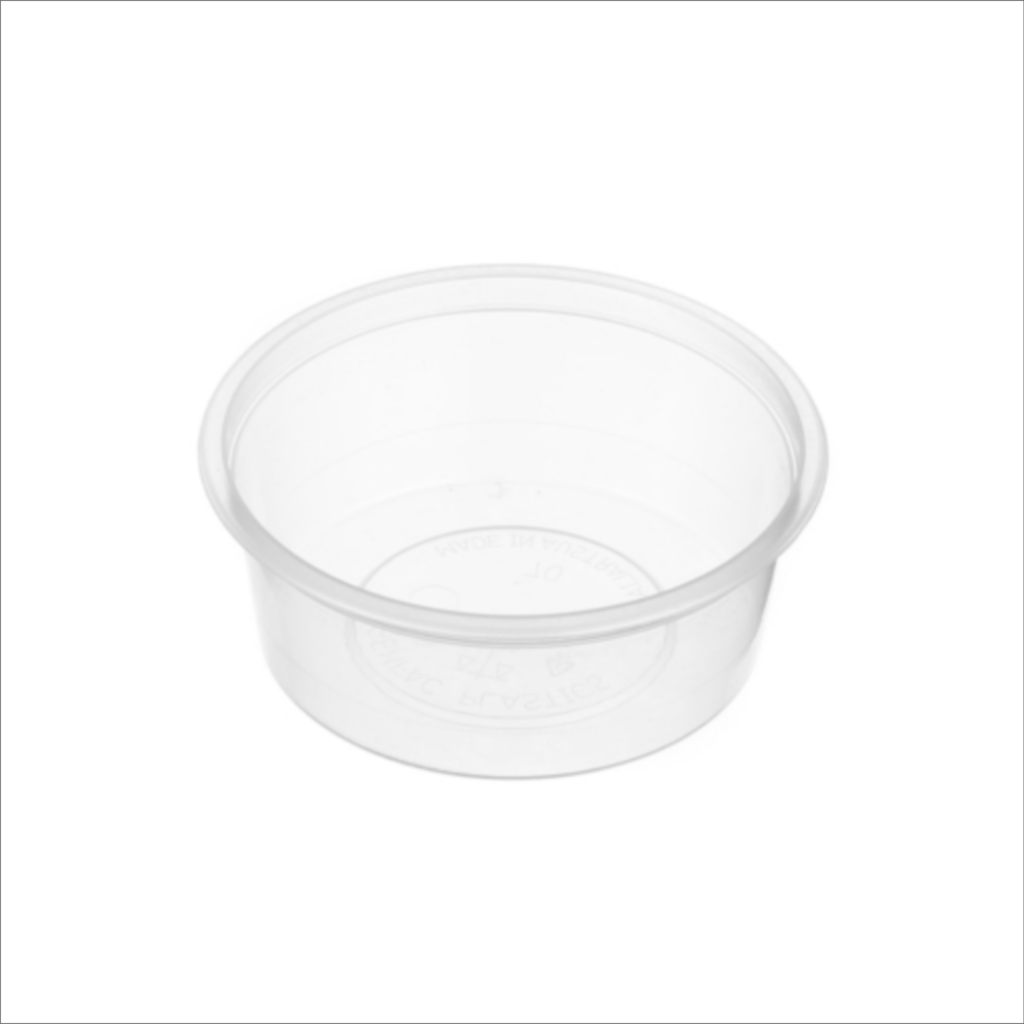
- Container
Stages of the installation process
- Prepare your floor to make sure the ground is even and clean
- The ideal start is to pick a center of the area that needs installation. An example if it is a 10m area, the center is 5m, the first tile should be placed there.
- Place your first tile on the center and put 2 more tiles, one sideway,s and one in front to create a 90-degree angle, and put a square to make sure it is not skewed.
- Leave a 3mm gap from the walls to allow for expansion when it is warm/hot
- The ideal installation for an area where glue application is needed is to finish installation include cuttings before you apply glue.
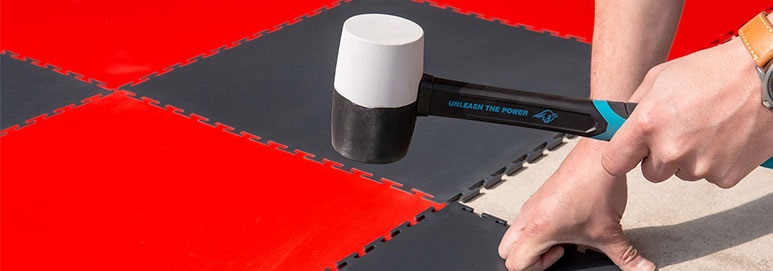
- Do your installation sideways and then going forward locking them tight using a hammer, your gapes on the sideways should be equal and you can do your cuttings using your razor or Stanley knife.
- After finishing your cuttings of the installation, you can start the glue application process as follows. Please note that our tiles are so flexible that any shape can be made from cuttings including curves.
- If you are using Glue, the perfect Glue to use for normal household or in areas where traffic is low would be A660, and where it’s outdoor and traffic is heavy the ideal is A658.
- Because the Glue is a two-part one where you mix them together 6 liters to 1 liter, you can mix in your container and make sure it’s well stirred
- Please note this glue is quick to dry out, make sure ONLY open when you are ready to use it and you also need gloves when applying it, never allow your skin to be exposed to the glue.
- Remove your installed tiles and start applying the glue for the whole section that will cover the first tin/container using the steel scraper to spread along.
- Allow for about 3-5 minutes to ensure the glue is not wet and settled and can now stick. Please note do not allow the glue to stay long before you hammer the tiles down on the glue as the glue can easily dry out and lose its adhesive capabilities. This process is repeated until the whole area is completed.
- In areas where there is very low traffic like offices, kitchens, and other areas you can install the tiles without glue, we recommend putting glue on the edges to ensure firmness.

High-Quality PVC Tiles & Rubber Mats – Made in South Africa
Why Choose Capelock Tiles?
Capelock Tiles is proud to be a leading manufacturer and supplier of interlocking PVC and rubber floor tiles. Here’s what makes us stand out
Locally Manufactured
Our tiles are designed and produced in South Africa, ensuring premium quality and faster delivery.
Expert Support
Our team offers professional guidance on selecting the right product and provides installation advice.
Customisation Options
Available in a variety of sizes, colours, and thicknesses to perfectly suit your space.
Eco-Conscious Production
We prioritise sustainable practices throughout our manufacturing process.